
Introduction
There was a lot of controversy surrounding the Dead Rabbit V2 RTA when it was released. I’m not going to bother with any of that. As far as I’m concerned it’s an RTA and I’ll be reviewing it for what it is.
Let’s take a look at the Dead Rabbit V2 RTA.
Disclaimer: The Dead Rabbit RTA V2 was sent to me by HealthCabin for review.
- Dead Rabbit V2 RTA
- 5ml Bubble Glass
- 2ml Straight Glass
- Spare o-rings, screws and fill port gasket
- Screwdriver & Allen Key
- Sticker
- 25mm diameter RTA
- 5ml capacity with included bubble glass installed
- 2ml capacity with included straight glass installed
- Sliding top fill
- Dual Post Build Deck
- Dual Slotted Top Airflow Control Ring
- 810 drip tip
Design & Build Quality
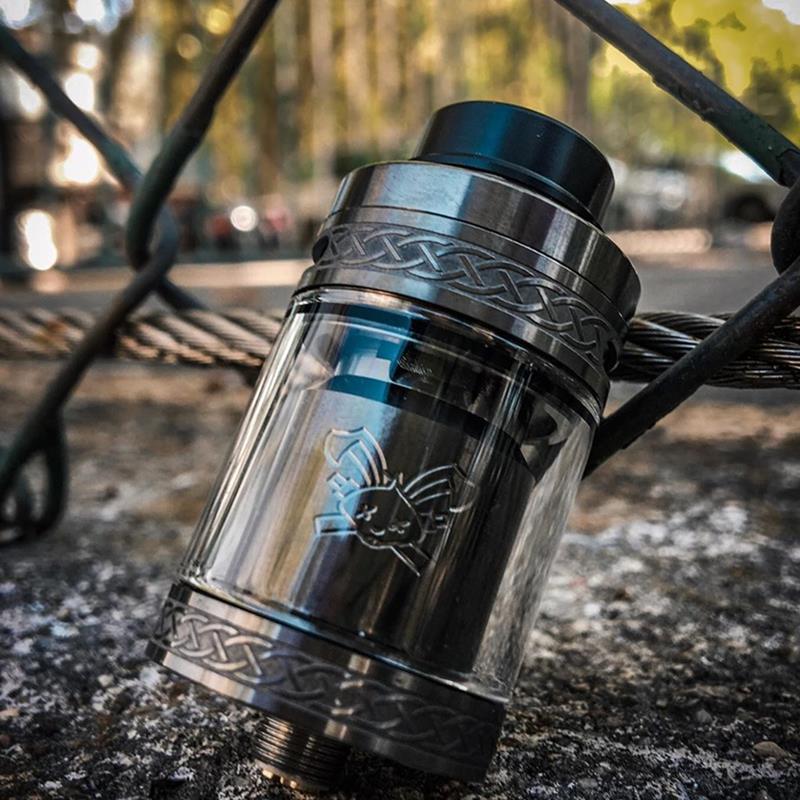
The Dead Rabbit V2 RTA is constructed from 304 stainless steel. The tank I received was the Matt Black version. It is also available in Stainless Steel, Gunmetal, Rainbow, Matte Full Black (logo and name on chimney are blacked out), Matte Stainless Steel, Blue and Gold.
Starting at the top, you have an 810 drip tip which has a nice wide bore.
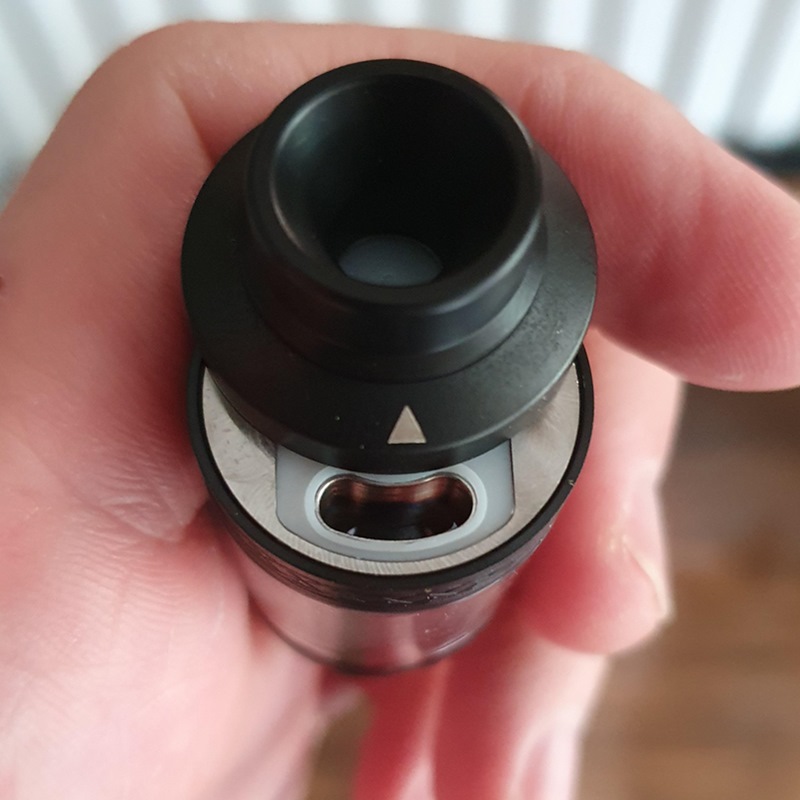
The fill cap is a slide open style, with a little white arrow indicating where to push. You can also unscrew the top cap from the sliding mechanism which allows you to dismantle for cleaning and to also gain access to the fill port gasket to replace if needed.
The fill port is a single kidney shaped hole, which isn’t the biggest I’ve seen, but doesn’t cause problems with most sizes of nozzles. Really big nozzles won’t fit, I had to ‘pour’ the juice in from my nozzle on a 500ml bottle, but managed it without any spillages.
The top airflow control ring has a celtic knot knurling design all the way around, which was also seen on the Dead Rabbit V2 RDA. It offers enough grip to adjust the AFC ring and also provides a nice design to the tank.
You have the option of using the included straight glass, which gives a 2ml liquid capacity, or the pre-installed 5ml bubble glass. I always opt for the bubble glass when provided as I prefer the extra juice capacity.
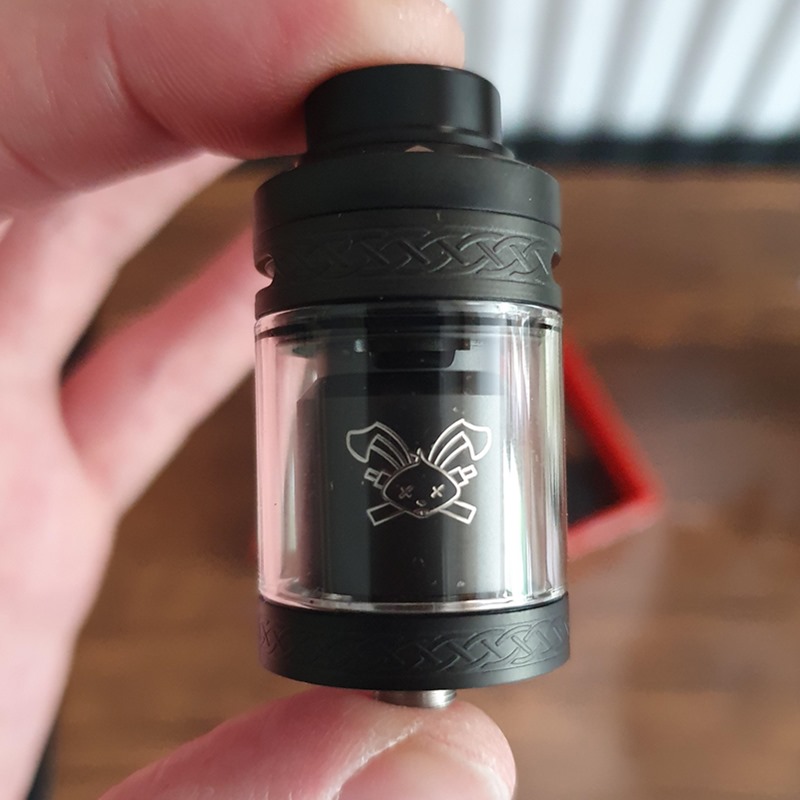
Through the glass you can see the chimney / chamber, which has the Dead Rabbit logo on one side and ‘Dead Rabbit V2’ on the other side.
The base has the same celtic knot design running all the way around it, again offering grip when unscrewing the base.
The bottom of the tank has a protruding 510 connection pin. It also has a plastic thermal insulation plate which is supposed to protect your mod from any heat transfer. It has a frosted finish to the insulation plate so you can see through to the recessed base of the tank, where it has the usual regulation marks, Hellvape logo and the Dead Rabbit V2 RTA name. The insulation plate can be unscrewed for cleaning of the tank if required.
Overall, the Dead Rabbit V2 RTA is quite a subtle looking tank, especially in the Matt Black option I received. The build quality is spot on, with all threads being smooth. The sliding top cap is quite restrictive also, so while it could slide open in a pocket, the tightness of the sliding mechanism should prevent this from happening.
Airflow
The top airflow of the Dead Rabbit V2 RTA starts with the dual cyclops slots on the AFC ring. These are angled downwards, so as air is pulled into the chamber it is directed at the top / side of your coils on a diagonal. As the air enters the chamber, there is an internal honeycomb airflow chamber which the air passes through, before hitting your coils
The honeycomb airflow chamber is supposed to smooth out the airflow, but I haven’t tried the original Dead Rabbit RTA to be able to compare the two.
The inner airflow chamber has notches on either side which ensure it locks to the base and keeps the honeycomb airflow directed at your coils.
Obviously, being top airflow you have the added benefit of minimising leaking from the tank. However, some people don’t like top airflow, preferring airflow from the side or the bottom.
Building on the Dead Rabbit RTA V2
The build deck on the Dead Rabbit V2 RTA is very similar to the Dead Rabbit V2 RDA. If you’ve used the RDA, you will be right at home on the RTA.
If you haven’t used the RDA, the build deck is basically four posts which are configured like two Y shapes. This allows you to install your coils like you would on a postless deck. The idea is supposed to be that you can pop your coils into the post holes and trim the leads afterwards, however I found the space is quite tight with my trimming tool, so I just trim the leads beforehand anyway.
Regardless of whether you opt to trim your leads first or try cutting them after installing, it’s still an easy deck to build with.
When it comes to wicking your coils, as with the Dead Rabbit V2 RDA, you will need a longer wick tail than you may be used to. This is due to the height of the deck above the wicking ports. I found cutting the cotton at the threads of the build deck was fine.
On each side of the deck are two little walls around the wicking ports. I tucked my cotton behind these and left it sitting on top of the juice ports. I tend to wick RTA’s this way, not wanting to stuff cotton down into juice ports and restrict the flow of juice.
Performance
I first tried a build of just two simple spaced round wire coils. I wanted to try the Dead Rabbit V2 RTA on mech mod I had just bought, so the build was 5 wraps of 26 gauge kanthal coming out at about 0.37ohm. Flavour was really good, nothing to complain about at all. I had the airflow fully open and found it to provide an airy vape but not too airy that the flavour was diminished. I suppose the airflow is a little loud, but it’s not turbulent or whistly.
I then tried a single parallel coil, same specs and wraps so came out the same at about 0.37. Flavour was OK on this build but I suspect the single coil was too far away from the internal honeycomb slots to provide the full flavour I had gotten from the dual coil setup. I guess a fancier, larger coil would be more suited for a single coil setup to catch the air as it comes into the internal chamber.
I’ll just stick with a dual coil build next time.
Leaking was not an issue, but being top airflow it is what you would expect.
I didn’t have any issues when filling the tank, even when using a really chunky nozzle, but I did have to pour it into the fill port. Any standard sized nozzles just fit straight in.
I do prefer a screw on top cap as opposed to a sliding one, but the ability to unscrew the cap for cleaning is nice. I think it would have been better if it was reverse threaded though.
Verdict
Overall, I really enjoy using the Dead Rabbit V2 RTA. I found the flavour to be really good, even from a simple round wire build. I prefer to wick RTA’s using the dam method, where the cotton just sits on the juice ports, as opposed to poking it through the ports. For me it works better and the little walls around the juice ports really help your cotton to stay in place.
The honeycomb airflow is an upgrade from the original Dead Rabbit RTA, but I didn’t try the original so cannot compare them. As to whether the honeycomb inner chamber warrants a V2 upgrade, that is for you to decide.
Overall, the Dead Rabbit V2 RTA performs very well and I’m certainly happy to keep using it when I don’t want to drip into an RDA. It may not be ground breaking, but it certainly does what it set out to do.
Pros
- Great flavour
- Nice airflow
- Can unscrew the top cap and dismantle the sliding mechanism for cleaning
- Nice subtle design
Cons
- I prefer a screw top cap as opposed to a sliding one
- Reverse threaded top cap would prevent unwanted unscrewing of the top cap when unscrewing the base to access build deck
Dead Rabbit V2 RTA 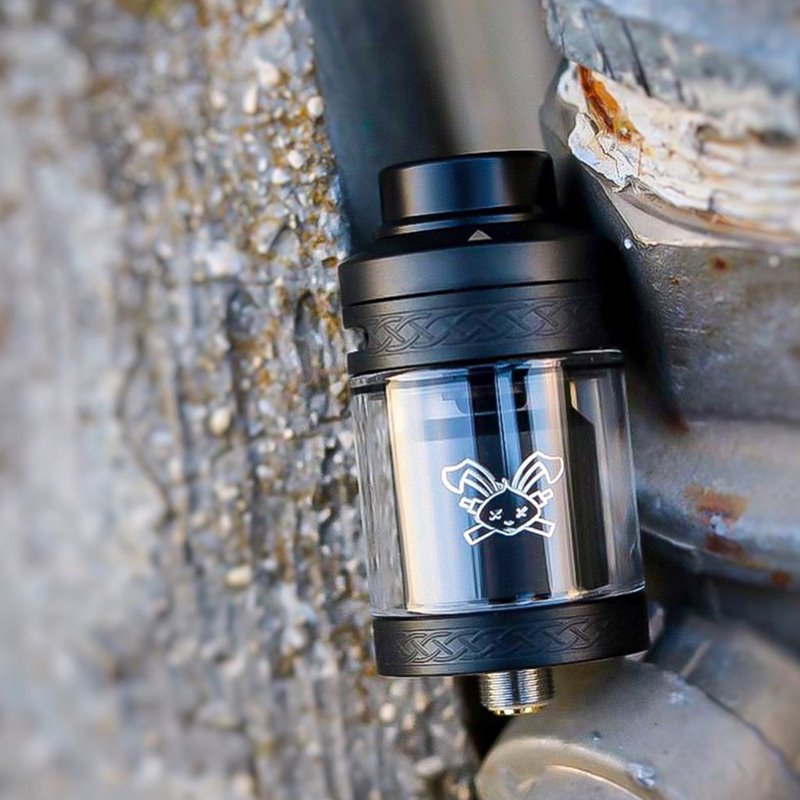
Dead Rabbit V2 RTA 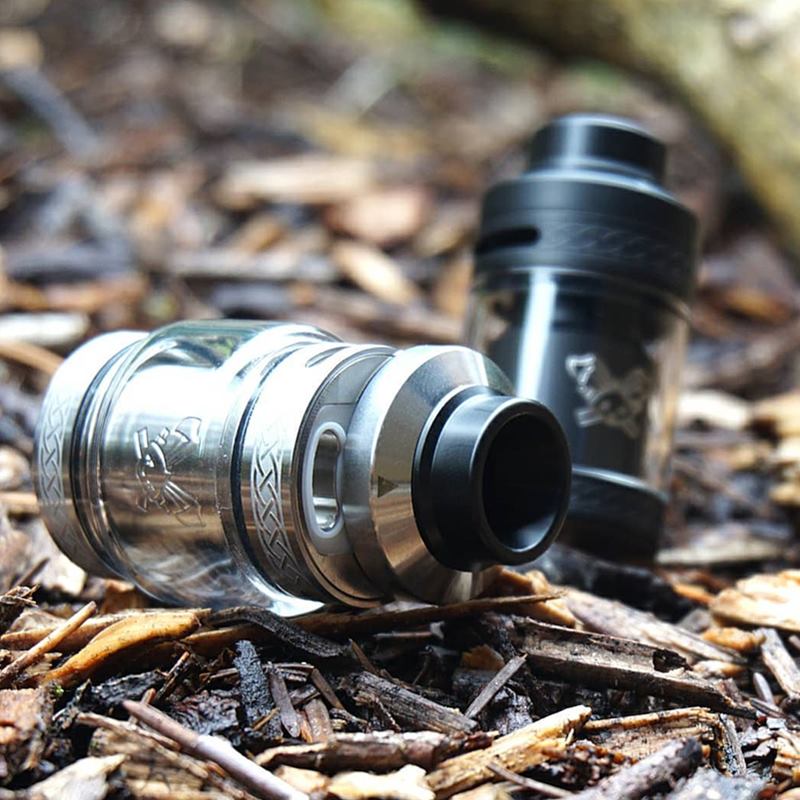
Dead Rabbit V2 RTA
Thank you for reading and thank you to HealthCabin for sending me the Dead Rabbit V2 RTA for review.
They have them listed for £25.28 / $31.49 on their website, but if you create an account or log in they are listed for £16.75 /$20.87
This review was written by Dan from ECF, click to view original review there with more pictures in a photo album.
