
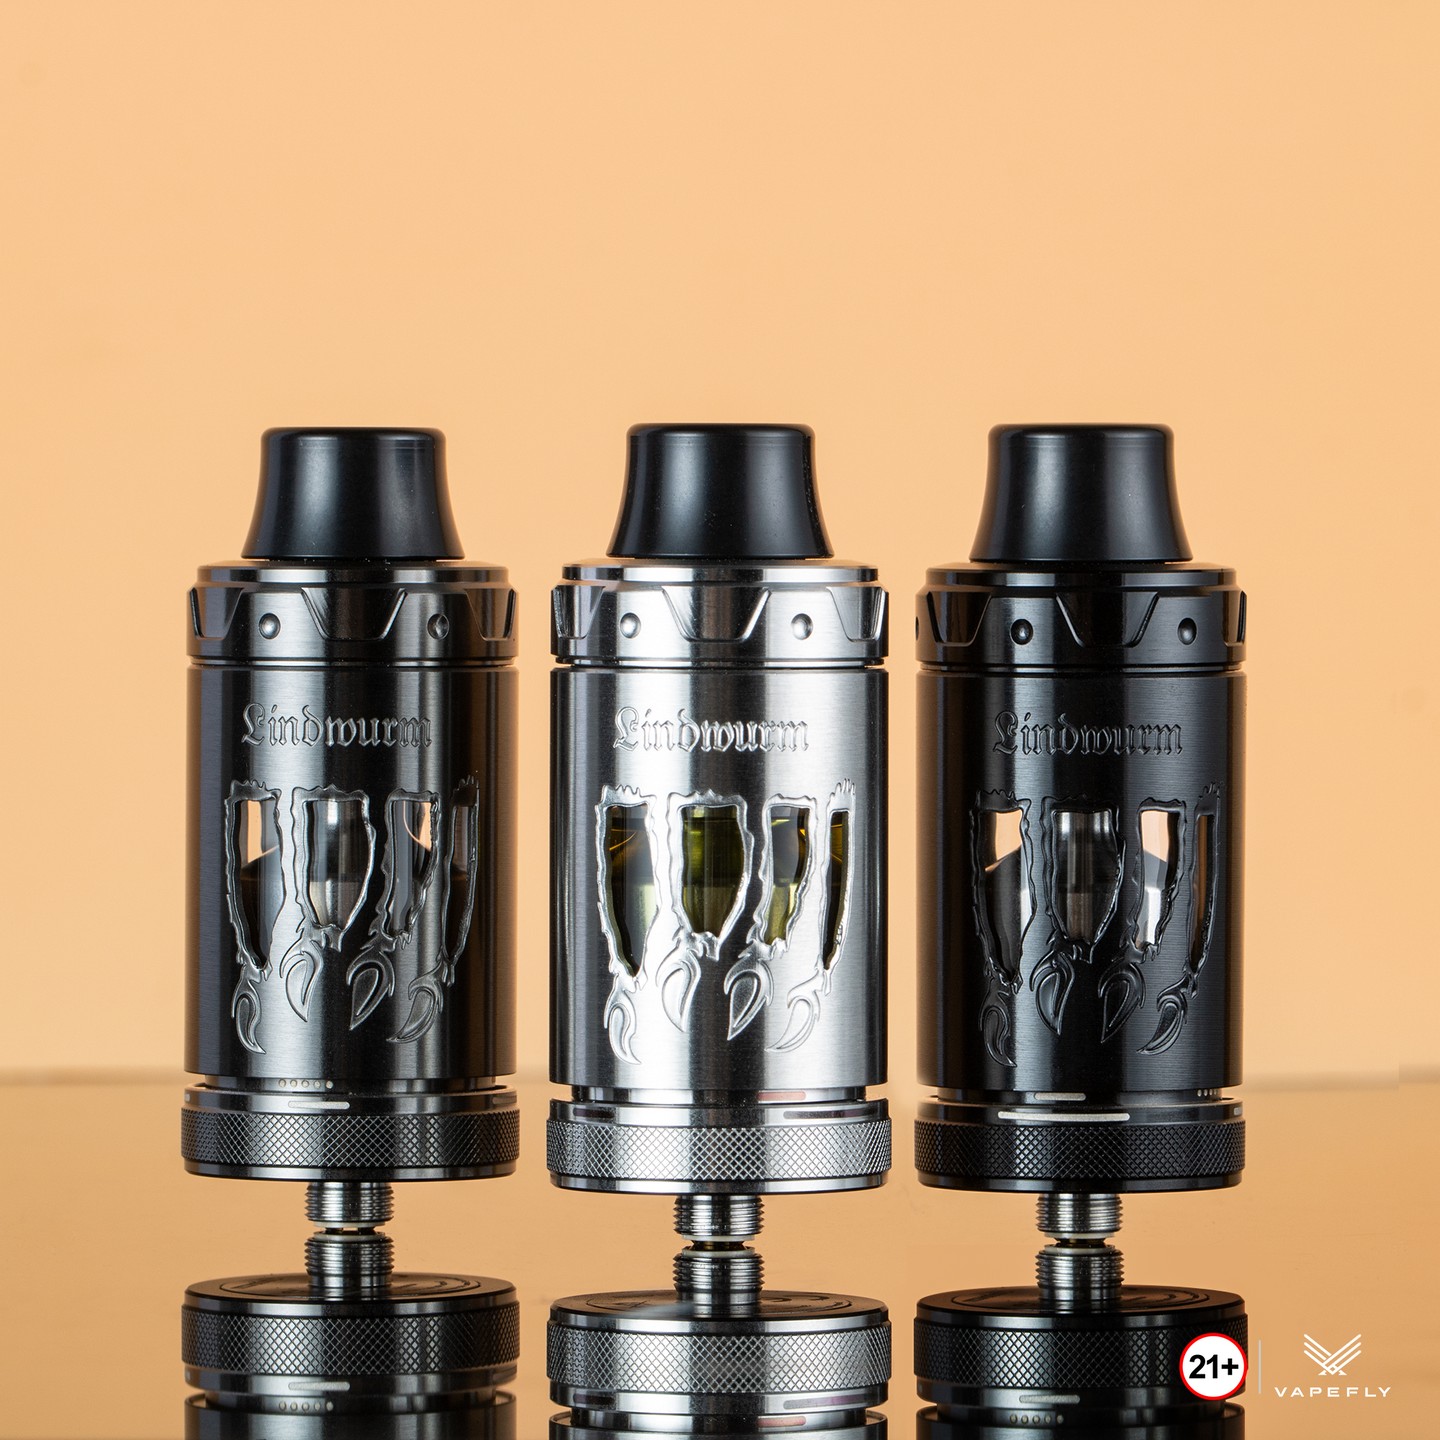
Once again I say hello and welcome back for another review, today I will be reviewing the Lindwurm RTA from Vapefly and another collaboration with the German 103 team. The Lindwurm RTA was sent to me from Healthcabin for review. This RTA is a little over 25mm in size and uses a straight glass only that sits inside a decorative and protective cage. Because there no bubble glass it might appear to be tall and it is by a very small margin compared to other 25mm atomizers. Airflow options are the main features with the Lindwurm because there is bottom and side airflow that can be separated or combined and then adjusted to your liking. There’s a lot to cover on this RTA and I’ll give you my thoughts on it’s performance later in my review but first let’s find out what the Lindwurm RTA from Vapefly and the German 103 team is all about. So let’s get started the Vapefly Lindwurm RTA Review!
- 1 x Lindwurm RTA
- 1 x 5ml glass tube
- 2 x Firebolt cotton
- 2 x 0.3ohm pre-built coils
- 1 x Screwdriver
- 3 x Allen screws
- 5 x Airflow screws
- 1 x 510 drip tip adapter
- 1 x set of O-rings
- Laser engraving & corrosion processing's
- 25.2mm diameter, 810 drip tip
- Top filling system, 5ml capacity
- Precise bottom & side airflow
- Concealed airflow adjustment
- Designed with single coil deck
- Excellent DL vaping experience
- 6 interchangeable airflow pins as those of Brunhilde MTL RTA
FIRST IMPRESSIONS
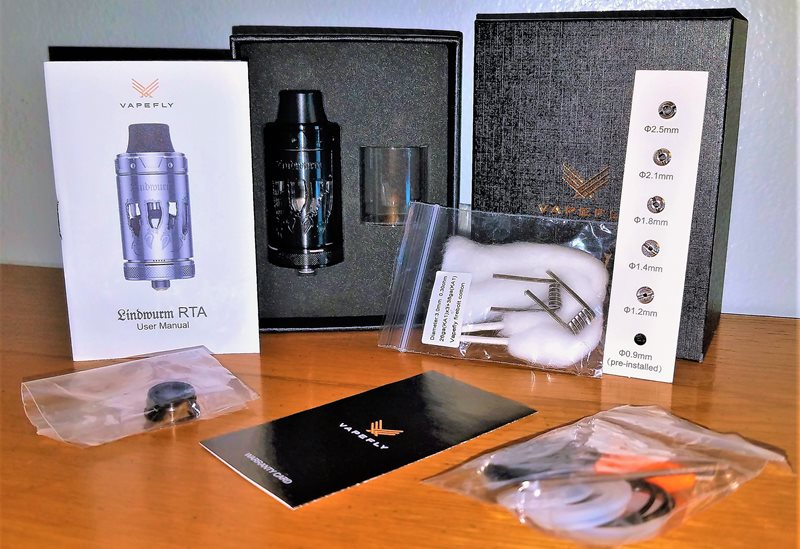
The packaging is a basic box in a outer sleeve, lifting the top off reveals the Lindwurm and spare glass tube sitting side by side with the 5 airflow pin screws in a cardboard strip, each pin screw has a different sized diameter starting with the pre-installed 0.9mm, 1.2mm, 1.4mm, 1.8mm, 2.1mm, and 2.5mm. Also included and packaged in a separate baggie are the spare O-rings, spare grub screws, a tri-tool, allen driver, 510 adapter, 2 coils, 2 pieces of shoelace cotton, a card with tutorials on the different airflow options, warranty card and the user manual all laying underneath the Lindwurm RTA.
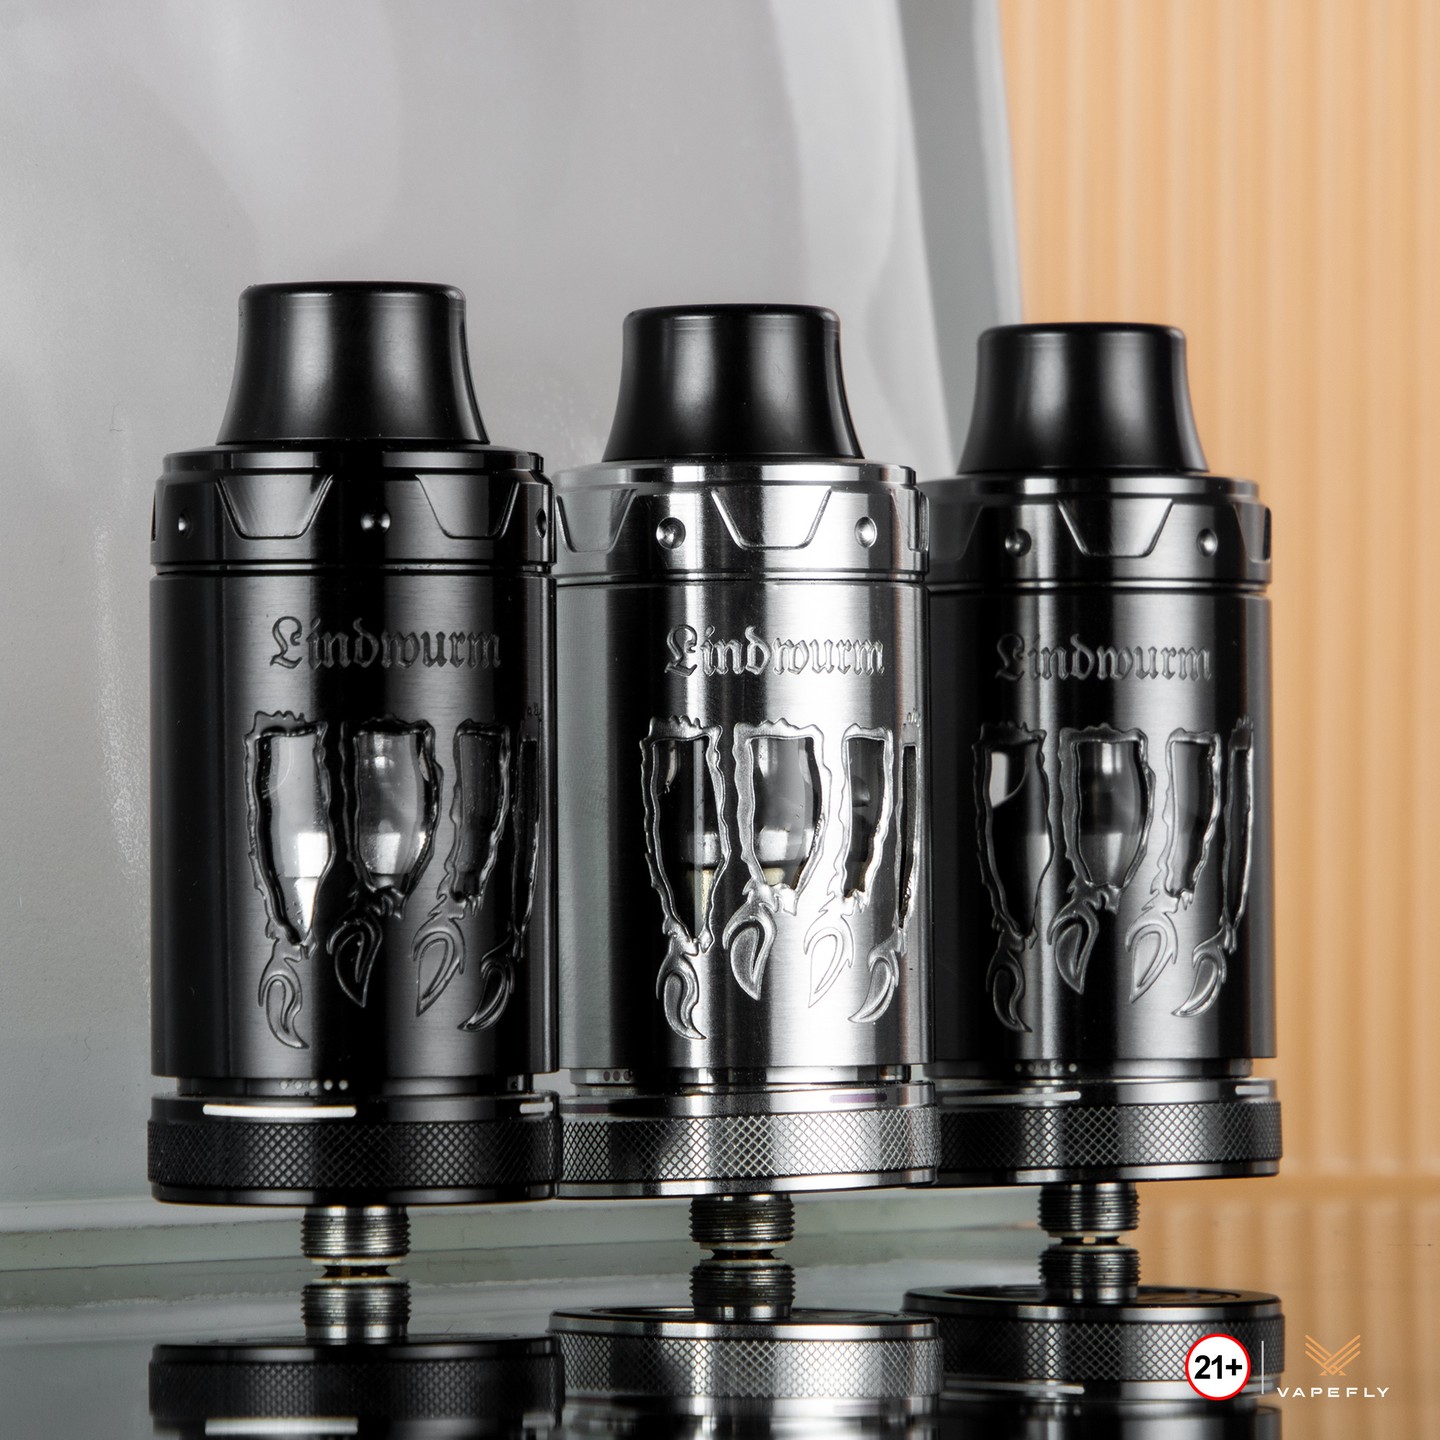
At first glance I thought it was rather tall which it is having no bubble glass, but after screwing it on a few mods and comparing the size with other atomizers the difference is not that much. I like the protective outer cage with a single claw scraping in 2 locations, this protective and bold looking cage can be removed and used showing just the glass but the cage is what gives the Lindwurm that bold look, I took the cage off to see how it would look but quickly put it back on as it’s appearance without the cage is not a good look.
It’s always nice when a atomizer can be disassembled completely down to it’s individual pieces so when cleaning you know your atomizer is the most sanitary it can be. I’m happy to report that the Lindwurm RTA can be as well, as I always do I disassembled the Lindwurm down to it’s 7 pieces including the 810 drip tip and prepared a hot bath of soapy water for it to have a long soak. A atomizer may look, feel and smell clean but residual oil from the machining process during manufacturing can still be on parts of the atomizer so why take a chance ( JUST CLEAN IT )

I don’t know if everyone is familiar with the Brunhilde MTL atomizer from Vpefly but it uses the same pin screws for bottom airflow as the Lindwurm does and you could use it as a MTL atomizer but you would be defeating the purpose of the side airflow and the different combinations of airflow that can achieved using all 3 together. The airflow is stealthy as you cannot see any airflow holes on the atomizer itself when assembled but there are side and bottom airflow control markings printed on it. Vapefly included a tutorial card in the kit to help you refine your airflow settings.
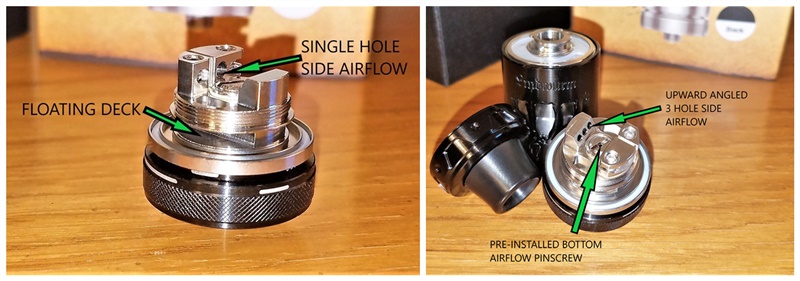
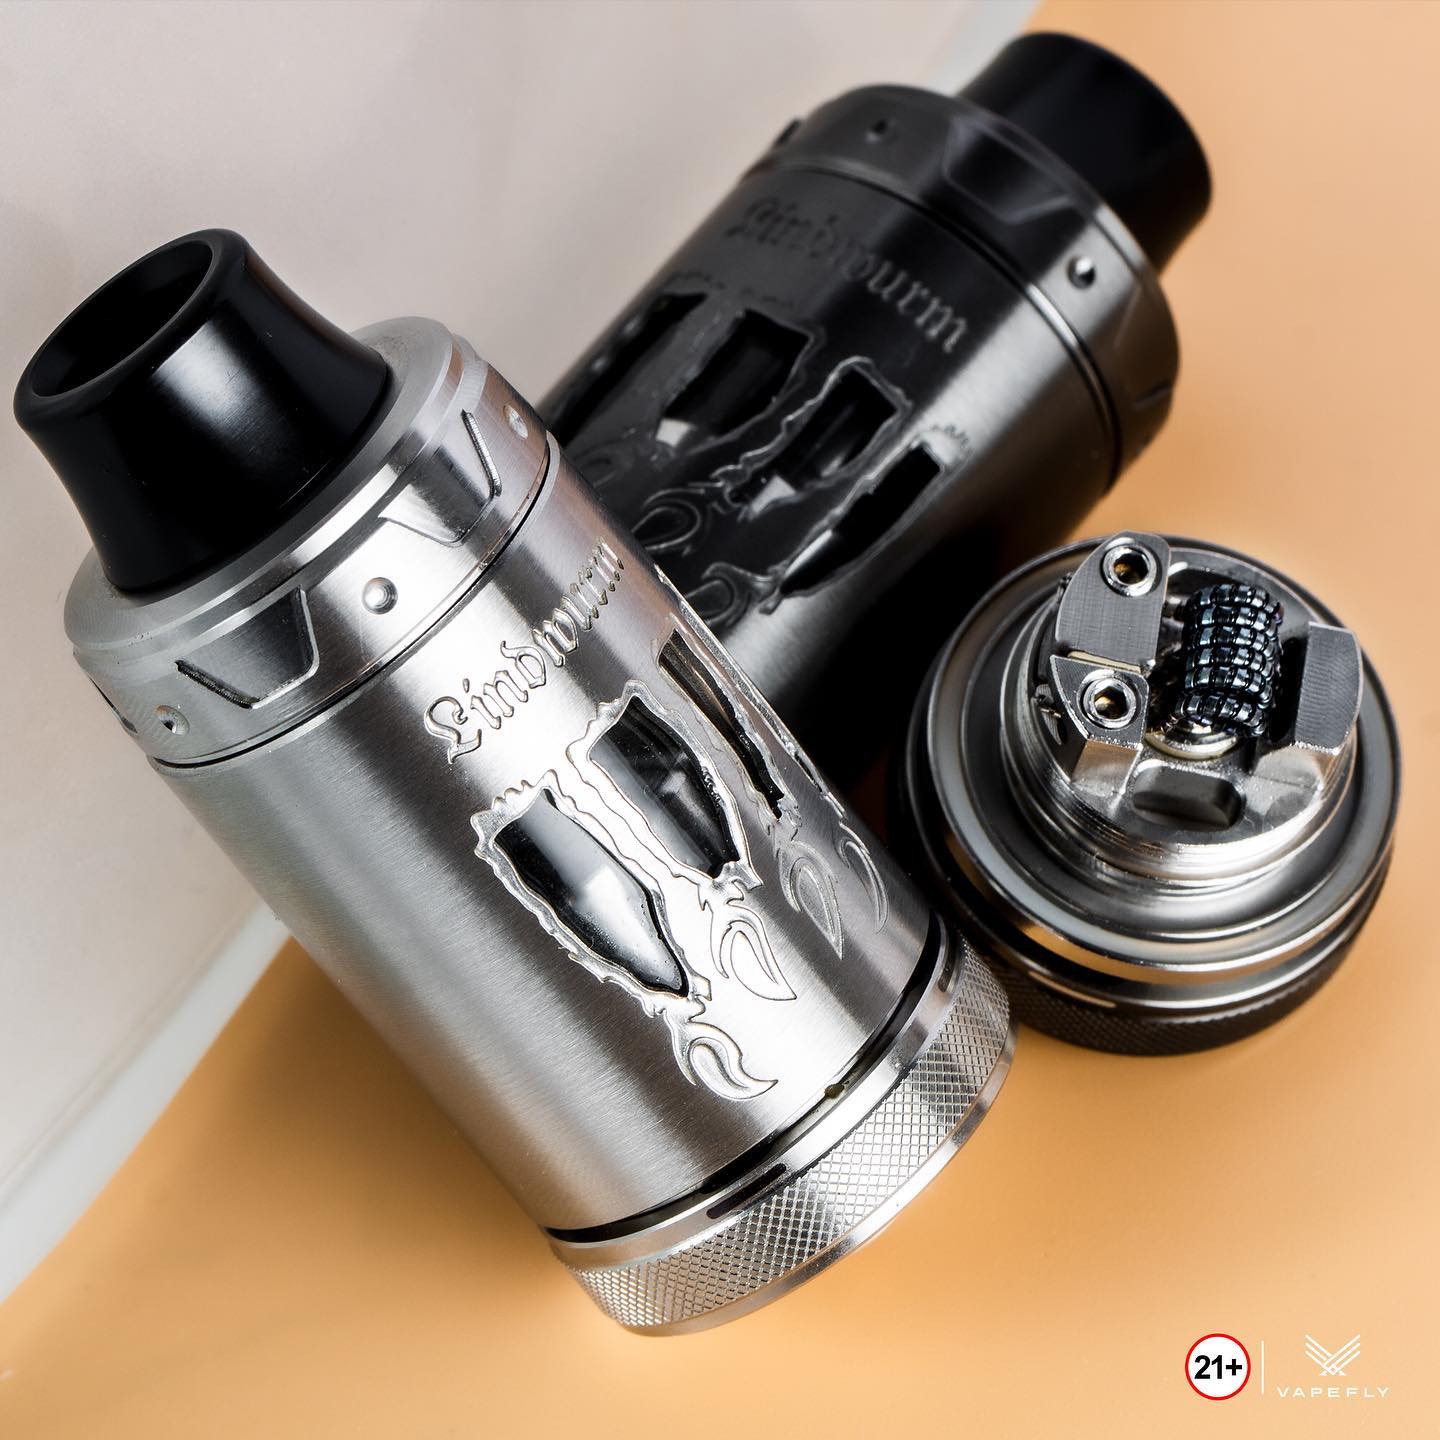
Looking at the build deck you see how the German 103 team designed the side airflow to have 1 single hole that hits the one side of the coil directly in the center of it with the other side having a upward slope consisting of 3 smaller airflow holes that hit the coil at the top portion with the bottom airflow screw in pin hitting the coil from the bottom up completely surrounding the coil with airflow that can be tailored to each users liking. Pre-installed is the 0.9mm that I think is way to small for a RDL or DL vape but can work for MTL but I don’t recommend using the Lindwurm RTA as a MTL RTA. I ended up liking the 2.1mm bottom airflow screw the best.
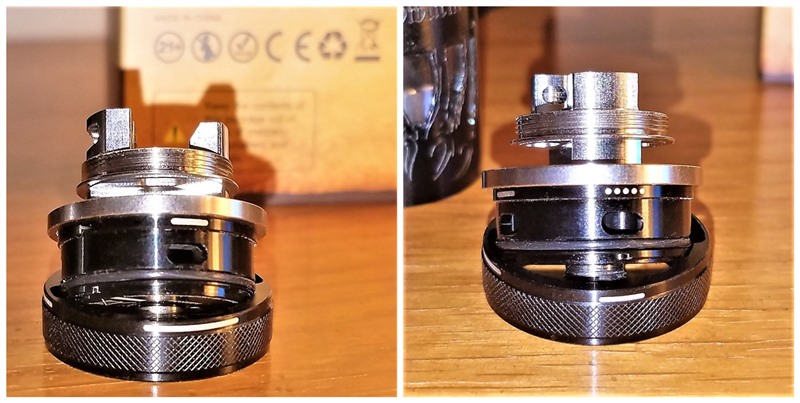
The Lindwurm uses a series of White dots and White lines to use as reference points for your airflow, the White lines are for the bottom airflow and the White dots are for the side airflow. When the airflow control ring is pulled off 4 separate airflow holes are visible. 2 for the bottom pin and 2 for the side airflow.
This build deck is pretty easy to build and wick on, the post that you slide your coil legs into has 1 side with just a hole for a opening with the other post hole having the outer portion cut for sliding the coil leg into, start with the first coil leg going into the the post with the hole drilled into it then pull out the other coil leg slightly and slide the leg through the post opening after the post screws are unscrewed then tighten the screws and adjust height and centering of the coil, I like the height to be very close to the pin screw without touching it of course.
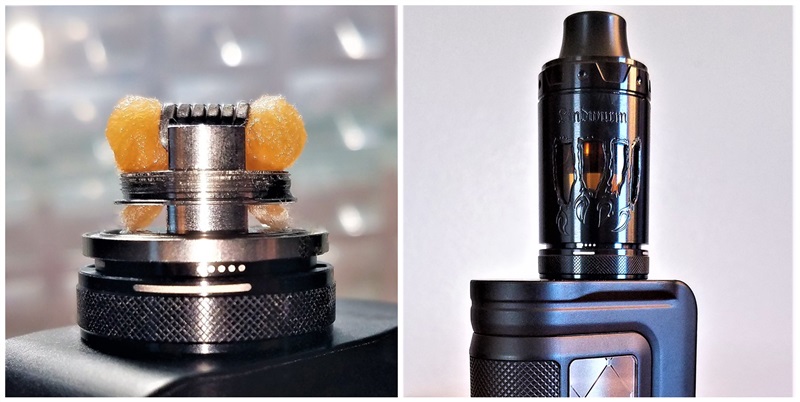
For wicking cut the cotton at the end of the build deck and do a slight comb out and place the tails into the wicking slots, you don’t want the tails to touch the deck although a few stands wont matter. Because this is a floating deck you can easily trim off any excess cotton from the tail before applying juice on it if it looks too long, you don’t want to pack the cotton in the slots, if it feels tight then trim until it fills the slot without a lot of resistance.
On my build I used 1 of the coils provided in the box but used Rayon as my wicking material, Rayon shrinks over time as juice saturates it so as you can see in my build I wicked it a little long knowing in a few days the Rayon would shrink, I could have trimmed the tails a smidgen more but everything worked out and performed great. I tested the Lindwurm RTA sitting on top of the Gaur-18. One thing that I forgot to mention earlier is that the protective cage with the 2 claw scrapes can be rotated a whole bunch so your claw scrape mark will end up wherever you want it to be facing on your mod.
FINAL IMPRESSIONS
First things first I want to give a big thumbs up to Vapefly and the German 103 team on designing the Lindwurm RTA’s unique airflow system, really innovative and way to go. Airflow is what makes or breaks any atomizer and the Lindwurm gives you any style you want, there may be a bit of a learning curve to tailor the airflow to your particular liking.
And the bottom airflow pins further open your options in the airflow department, I can safely say that the Lindwurm will satisfy everyone’s individual airflow preference. For myself I like the airflow fully open both bottom and side with the 2.1mm pin installed but sometimes liking the 2.5mm pin as well and I’m not a big air guy but I can adjust the flow of air to any setting I prefer at that time then later dial down or up depending on my mood and craving of more air or not. I’m a kind of crazy vaper that likes different airflow at different times of the day.
When talking flavor the Lindwurm is pretty good not the best but pretty darn good giving a well saturated vape and in testing I chain vaped it quite a lot never getting a dry hit. On the noise factor fully open it can be heard quite well with a swirling of air rushing through the atomizer.
Building on the deck is pretty easy and the floating deck makes wicking it a easy process as well. If I was told to describe the Vapefly Lindwurm RTA in one word it would be (OPTIONS)
I would like to thank Sue and Healthcabin for providing the Lindwurm RTA for this review and I hope that I answered all your questions about the Lindwurm RTA by Vapefly.
This review was written by bigbob2322 – Bob from ECF, click to view original review there with more photos and more details.
